Secure Computer Components Recycling in Atlanta


If you're staring at a storage room full of retired desktops, boxed monitors, loose hard drives, aging switches, and a few server rails no one wants to touch, you're already in the middle of a computer components recycling project. Most Atlanta IT managers don't start with a clean spreadsheet and a calm timeline. They start with an office move, a hardware refresh, an audit request, or a data center shutdown that suddenly makes old equipment urgent.
That urgency creates risk. The problem isn't only where the equipment goes. It's whether drives are tracked, whether reusable assets are separated from scrap, whether pickups happen without disrupting operations, and whether your paperwork can stand up to an internal audit months later.
From an ITAD project manager's perspective, the companies that handle this well do three things early. They inventory before pickup, decide data destruction rules before anyone unplugs a device, and choose a recycler based on downstream process and documentation, not just hauling speed. That's what keeps a cleanout from turning into a liability.
Why Smart IT Recycling Matters for Atlanta Businesses
A pile of retired equipment looks harmless until someone asks what's on it, who approved disposal, and where it's going next. Old laptops still hold user data. Server drives may contain backups, credentials, patient records, financial files, or internal source code. Even network gear can hold saved configurations that shouldn't leave your control without a plan.
That makes computer components recycling a business process, not a housekeeping task. The global disposal system isn't absorbing electronics as cleanly as many organizations assume. The UN's Global E-waste Monitor reported that the world generated 62 million tonnes of e-waste in 2022, while documented collection and recycling stood at only 22.3% that year, according to the UN's Global E-waste Monitor 2024 summary. For an Atlanta business, that gap matters because devices can leave the building without ever entering a documented, secure recycling chain.
The real risks sit inside ordinary hardware
Most first-time disposal projects focus on visible items such as towers, monitors, and cable piles. The higher-risk items are usually less obvious:
- Data-bearing media: Hard drives, SSDs, backup devices, and embedded storage in printers or multifunction units.
- Infrastructure gear: Firewalls, switches, wireless controllers, and appliances with saved credentials or configuration files.
- Mixed pallets: Equipment packed in haste often blends reusable assets, hazardous items, and scrap, which creates chain-of-custody problems.
- Untracked accessories: Power supplies, docking stations, and spare drives often leave the building without being counted.
Practical rule: If a device ever touched your network, stored user data, or supported regulated operations, treat it as controlled until your records prove otherwise.
For Atlanta organizations opening new offices, consolidating locations, or supporting broadband network buildouts, this gets even more practical. Telecom and IT upgrades generate overlapping streams of retired electronics. If you don't separate network refresh assets from general office e-waste, your inventory gets muddy fast.
Why a formal ITAD program works better than ad hoc disposal
Informal disposal usually breaks at handoff. Someone from facilities moves equipment. Another team stacks it in a back room. A hauler removes it later. By then, labels are gone, drive counts don't match, and no one is confident about what was reused, recycled, or destroyed.
A formal ITAD workflow fixes that by assigning accountability at each step:
- Inventory before movement
- Triage by reuse, recycle, or destroy
- Controlled pickup with chain of custody
- Final reporting that matches the original asset list
The environmental side matters too, but the operational side comes first. When your process is tight, security improves, audit response gets easier, and your team recovers value from hardware that still has life left in it.
Building Your IT Asset Disposition Plan
The best recycling projects are boring. Nothing is rushed, no one guesses, and every pallet has a purpose. Planning makes that possible.
Before calling for pickup, build a working list of what you have. It doesn't need to be fancy. A spreadsheet is enough if it's complete and consistent. The mistake I see most often is grouping everything under "old computers" when the project really contains reusable laptops, scrap desktops, network gear, monitors, loose drives, UPS units, batteries, and a handful of devices that need higher-security handling.

Start with a field-ready inventory
Your inventory should help the pickup crew, the recycler, and your compliance team. Include only fields your team will maintain.
A practical inventory usually includes:
- Asset description: Desktop, laptop, server, monitor, switch, firewall, storage array, printer, dock, or loose drive.
- Identifier: Asset tag, serial number, hostname, or rack location.
- Condition note: Working, unknown, damaged, incomplete, or no power.
- Data status: No storage, data-bearing, encrypted, failed drive, or requires shredding.
- Disposition path: Reuse, recycle, or destroy.
If you're refining internal procedures, this guide to IT asset disposal best practices is a useful benchmark for building a repeatable workflow.
Triage first, quote second
A lot of companies ask for a pickup quote before they've separated reusable assets from scrap. That usually leads to delays or a revised scope. Triage first. Pricing, logistics, and documentation all improve when the recycler knows what category each asset belongs to.
One industry source states that roughly 98% of a computer's materials are recoverable through reuse or recycling, which is why the reuse-versus-recycle decision matters so much at the front end, as outlined by CompuCycle's computer recycling overview.
Here's a simple triage model that works well:
| Category | What goes here | What to decide |
|---|---|---|
| Reuse | Newer laptops, working desktops, viable servers, usable network gear | Can it be wiped, tested, and resold or redeployed? |
| Recycle | Broken monitors, obsolete towers, damaged peripherals, mixed cables | Can materials be recovered efficiently? |
| Destroy | Failed drives, regulated data media, proprietary storage | Is physical destruction required for risk control? |
Reuse should be a decision, not an accident. If a device still has market or internal redeployment value, don't let it disappear into a scrap pallet.
For teams looking to reduce future disposal volume, practical habits matter too. This article on how to reduce e-waste aligns well with what works on the operations side, especially standardizing refresh cycles and extending life where supportable.
What doesn't work
Three habits create most project friction:
- Late sorting: Waiting until pickup day to decide which drives need shredding.
- Incomplete counts: Listing "miscellaneous IT equipment" instead of identifying actual device types.
- No ownership: Leaving inventory to multiple teams without one final reviewer.
When triage is done well, the rest of the project moves faster. Your pickup is cleaner, your data destruction instructions are clearer, and your final reporting is far easier to reconcile.
Deciding Between Data Wipe and Physical Shredding
Data destruction is where disposal decisions stop being environmental and become risk-based. Every IT manager has to answer the same question for each batch of equipment. Do you preserve the asset with a verified wipe, or do you destroy the media so recovery isn't possible?
Atlanta Computer Recycling offers free hard drive wiping using the DoD 5220.22-M 3-pass standard and physical shredding for obsolete or non-functional media. That's one example of the two main paths most businesses weigh during computer components recycling.

When wiping makes sense
Software wiping is usually the right call when the device still has reuse value and the drive is healthy enough to process. That's common with business laptops, recent desktops, and servers being retired on schedule rather than after failure.
Use wiping when:
- The hardware is functional: The drive can be accessed and processed successfully.
- You want asset recovery: A wiped device can be resold, redeployed, or donated through an approved channel.
- You need serialized records: Wiping workflows often align well with per-device reporting.
A wipe requires verification. That's the part some organizations underestimate. If your team can't confirm that each specific drive was processed successfully, you don't have a finished job. You have a hopeful one.
For organizations evaluating software-based options, this overview of hard drive eraser software is a useful starting point.
When shredding is the safer decision
Physical shredding is the cleaner answer when the media is failed, highly sensitive, or too burdensome to verify individually. Healthcare environments often land here. So do legal, financial, and engineering teams holding confidential records or proprietary files.
Shredding is usually the better fit in these situations:
- Failed or inaccessible drives
- SSDs removed from mixed equipment lots
- Devices tied to regulated data
- Media from R&D, executive, or legal functions
- Projects where certainty matters more than residual value
If the business would lose sleep over the possibility of recovery, shred the media and document it.
A practical comparison for first-time projects
The choice isn't philosophical. It's operational.
| Method | Best use case | Main trade-off |
|---|---|---|
| Software wipe | Working devices with resale or redeployment value | Requires successful processing and verification |
| Physical shredding | Failed media or high-risk data environments | Ends reuse value of the storage media |
One common mistake is applying one rule to everything. That sounds simple, but it usually wastes value or adds risk. A mixed approach works better. Wipe reusable laptops. Shred failed server drives. Apply stricter handling to departments with regulated or sensitive data.
The right method is the one your legal, security, and audit teams can defend later.
Executing On-Site Logistics and Pickup
A smooth pickup starts long before the truck arrives. By the time the crew is on-site, all the important decisions should already be made. Which room is staging. Which assets are tagged for pickup. Which drives are pulled for shredding. Which racks stay live until the final cutover. Good logistics look simple because someone did the hard planning early.
For a standard office cleanout, the process is straightforward. Equipment gets staged by category, staff knows what is and isn't leaving, and the pickup team loads from a single controlled area. For a server room or lab environment, the work gets more delicate. De-installation order matters. Shared pathways matter. Elevator access matters. Building management often matters more than IT expects.
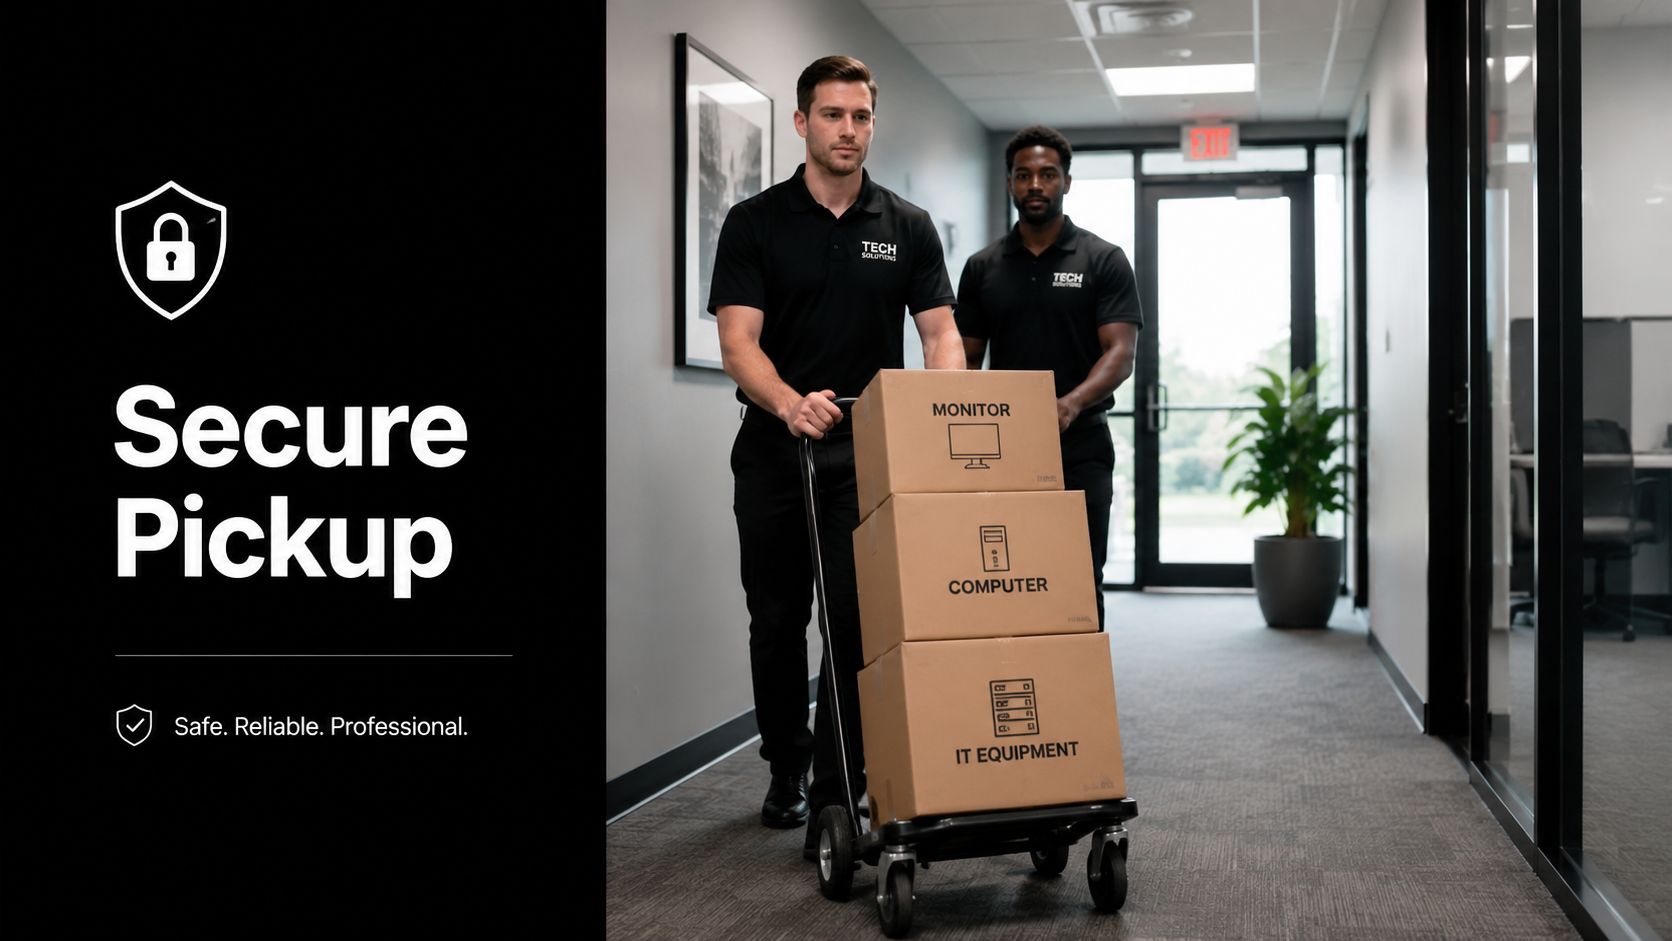
What a disciplined pickup day looks like
The best on-site teams work from a clear chain of custody and a loading plan, not from verbal instructions in the hallway.
A reliable sequence usually looks like this:
Arrival and scope confirmation
The crew confirms pickup zones, restricted areas, freight routes, and the approved asset list.Asset check and segregation
Data-bearing devices, reusable systems, and scrap material stay separated.De-installation where needed
Racked gear, mounted hardware, and structured equipment are removed in a controlled order.Load-out and count reconciliation
Pallets, carts, and serialized items are matched against site records before departure.Final site sweep
Teams check for leftover drives, rails, accessories, and tagged items behind desks or in cabinets.
If you need coordinated business pickup and removal, this page on IT equipment pickup in Atlanta shows the service model many local organizations use for office and data center projects.
Staging mistakes that slow everything down
The pickup itself is rarely the problem. Staging errors are.
Watch for these issues:
- Mixed containers: Putting laptops, batteries, loose drives, and scrap metal in the same gaylord or box.
- No labeling: Crews can't protect chain of custody if every carton looks the same.
- Blocked access: Staging in active hallways, near exits, or across shared operations areas.
- Last-minute additions: Unlisted equipment appears after counts have been finalized.
Equipment should leave your site in the same categories you used during planning. Mixed loads create confusion, and confusion creates documentation problems.
What happens after the truck leaves
This is where certified processing matters. In a certified e-waste facility, the first step is depollution, where hazardous materials such as lithium batteries and mercury lamps are removed before shredding, as described in Sims Lifecycle's explanation of e-waste recycling. That's a meaningful difference between a qualified recycler and a simple scrap hauler. Hazard removal early in the process protects workers and keeps contamination out of the material stream.
That matters for Atlanta businesses because office pickups often include more than computers. You may have UPS batteries, old LCDs, docking stations, toner, and mixed peripherals in the same project. If your vendor isn't set up for proper downstream segregation, the risk doesn't disappear. It just moves off-site.
Ensuring Compliance and Choosing Your Recycling Partner
A recycling project is only finished when your records are complete. If all you got was a truck departure and a vague assurance that the material was handled responsibly, you don't have closure. You have exposure.
Many first-time projects often fall short in this regard. Teams put most of their attention on removal logistics and almost none on post-pickup evidence. That works until legal, procurement, internal audit, or a client questionnaire asks for proof.
The paperwork that actually matters
Because only 22.3% of global e-waste is formally recycled, IT managers need to ask where equipment goes downstream and what documentation proves responsible handling. Requesting weight tickets, serialized asset reports, and downstream certificates gives you audit-ready proof and moves the conversation beyond vague zero-landfill claims, as noted in Harvard's e-waste guidance for computers and media.
For most business projects, keep these records:
- Certificate of Destruction: Confirms media destruction for applicable assets.
- Serialized asset report: Matches individual devices or drives to final disposition.
- Chain of custody documentation: Shows who handled material from pickup through processing.
- Weight tickets: Useful for bulk reconciliation and sustainability reporting.
- Downstream certificates: Important when material is sent to specialized processors.
How to vet an Atlanta recycling partner
Certifications matter, but they aren't the whole story. Ask how the vendor operates on a normal Tuesday, not just what logo appears on their website.
Use this checklist when evaluating a provider:
- Ask about downstream control: Who receives boards, drives, batteries, and plastics after initial processing?
- Review data handling rules: How are wipe failures handled? When is shredding triggered?
- Confirm reporting detail: Will you receive serialized reports, destruction records, and final disposition documentation?
- Inspect pickup discipline: Are containers labeled, assets counted, and restricted items segregated on-site?
- Check packaging practices: For delicate boards, drives, or reusable devices, proper materials such as anti-static bubble wrap can reduce damage during transport and preserve remarketing potential where reuse is approved.
If you're comparing providers, this resource on working with a certified electronics recycler covers the operational standards worth confirming before pickup day.
A compliant project is one you can explain months later with documents, not memory.
What to avoid
Some warning signs are easy to spot:
| Red flag | Why it matters |
|---|---|
| No clear answer on downstream vendors | You can't verify where material actually ends up |
| Generic promises without documentation samples | Reporting may be too thin for audit use |
| One-size-fits-all data destruction | Sensitive and low-risk assets need different handling |
| Fast pickup, vague processing | Speed at the dock doesn't equal compliant disposition |
A vendor should make your documentation burden lighter, not heavier. If their process leaves you building the compliance story yourself after the fact, keep looking.
The Data Center Decommissioning Project Checklist
A data center decommissioning project fails when teams assume it's just a larger office pickup. It isn't. You're coordinating facilities access, network dependencies, storage media handling, rack removal, cable management, transportation, and final reporting across a much broader footprint.
The safest way to run it is as a phased project with named owners and verification at every handoff. If your team needs a technical baseline for scope and sequencing, this guide to the data center decommissioning process is a useful companion.
Use this checklist as your working template
| Phase | Key Action Items | Verification / Documentation |
|---|---|---|
| Project kickoff | Confirm business owner, IT owner, facilities contact, security contact, and approved project scope. Define whether the site is full closure, partial refresh, or staged shutdown. | Approved project plan, stakeholder list, site access rules |
| Asset discovery | Walk the room. Record servers, storage, network gear, racks, PDUs, loose drives, cables, and peripheral equipment. Mark live systems that must remain until cutover. | Asset inventory, rack elevation notes, room map |
| Data destruction planning | Identify all data-bearing devices. Decide which assets will be wiped and which media will be shredded. Flag failed drives and any department-specific handling rules. | Media handling matrix, approved destruction standard, exception log |
| Change coordination | Schedule shutdown windows, network cutovers, badge access, elevator reservations, dock times, and building management approvals. | Change calendar, building approvals, contact sheet |
| Staging design | Assign separate zones for reusable equipment, scrap material, shredded media containers, batteries, and accessories. Label every zone before work begins. | Staging map, label set, internal handling instructions |
| De-installation | Remove equipment in planned sequence. Keep rails, faceplates, power cords, optics, and accessories with the right asset group when required for resale or audit. | Technician signoff, rack-by-rack completion notes |
| Load-out control | Move assets through one controlled path. Count serialized items at the point of loading. Keep media destruction containers separate from general equipment pallets. | Chain of custody forms, pickup count sheet, driver handoff record |
| Site clearance | Sweep racks, cabinets, underfloor areas, storage rooms, and adjacent closets for missed drives, backup tapes, transceivers, and loose hardware. | Final site inspection checklist, room release confirmation |
| Final reporting | Reconcile pickup records against the original inventory. Review destruction records, serialized disposition, and any downstream documentation before closing the project. | Certificate of Destruction, serialized report, final reconciliation packet |
Three details teams often miss
- Cable removal ownership: Decide early whether your recycler removes abandoned network and power cabling or whether facilities owns that scope.
- Accessory pairing: Rails, caddies, power supplies, and drive blanks affect reuse value and reconciliation accuracy.
- Exception handling: Every project has unknown devices, untagged gear, or abandoned media. Set a written rule for how exceptions are logged and approved.
The cleanest decommissioning projects don't depend on memory. They depend on a checklist, a named owner for each phase, and records that match what left the site.
If you're managing your first large shutdown, keep the workflow simple. Inventory thoroughly. Separate media handling from general recycling. Control the dock. Reconcile paperwork before anyone closes the ticket.
If your organization is planning a large office cleanout, server room refresh, or full-scale ITAD project, Atlanta Computer Recycling provides business-focused pickup, de-installation, data destruction, and documentation support across the Atlanta metro area.